| | start of my rs build |  |
|
|
|
| Author | Message |
|---|
gadily
Moderator

Posts : 1477
Join date : 2013-12-08
| | Subject: Re: start of my rs build Mon Mar 17, 2014 6:54 am | |
|
Last edited by gadily on Mon Oct 13, 2014 8:38 am; edited 1 time in total | |
|
| | |
Hitchhiker
Posts : 246
Join date : 2013-12-26
Location : nomad
| | Subject: Re: start of my rs build Mon Mar 17, 2014 11:49 am | |
| I am no expert but that looks good, gadily. | |
|
| | |
gadily
Moderator
Posts : 1477
Join date : 2013-12-08
| | Subject: Re: start of my rs build Tue Mar 18, 2014 3:41 am | |
|
Last edited by gadily on Mon Oct 13, 2014 8:43 am; edited 1 time in total | |
|
| | |
gadily
Moderator
Posts : 1477
Join date : 2013-12-08
| | Subject: Re: start of my rs build Thu Mar 20, 2014 9:21 pm | |
| ive been getting stuff ready while doing other things as well  the green and blue ones is 2 made into one 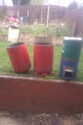 the 2 red ones are the tops whilst the bottom is made up differently as i was wanting just to slot the top onto a seperate base system | |
|
| | |
gadily
Moderator
Posts : 1477
Join date : 2013-12-08
| | Subject: Re: start of my rs build Sat Mar 22, 2014 9:19 am | |
| im waiting for a delivery now of stainless steel sheet 2.5mm for the internals of the burn box then i can finish off the welding the other problem is down to weather too windy to test the correct place for secondary burn and also im curious what would happen if placed on its side would it still have its vortex effect | |
|
| | |
caotropheus
Subscribers

Posts : 333
Join date : 2013-10-07
| | Subject: Re: start of my rs build Sat Mar 22, 2014 3:51 pm | |
| I am enjoying your step by step approach build of your stove. | |
|
| | |
gadily
Moderator
Posts : 1477
Join date : 2013-12-08
| | Subject: Re: start of my rs build Sun Mar 23, 2014 12:36 am | |
| - caotropheus wrote:
- I am enjoying your step by step approach build of your stove.
thanks wasnt meant to be that way but as a newbie building one it just has done though on reading and viewing other rs stoves not many show how to build one from scratch and show there testings of the design on most its build it this way only at least this shows why to do it this way but i admit ive thrown in my test as well heres what i will be building once materials arrive  i tested today to find the sweet spot of the secondary air heres the result the lines are for depth inside of the rs stove burner the far right is black as inside the burn box the first line looking at it is outside of the vortex tube the second line is at the edge of vortex tube the adjustments on the 1x1" tube was 1/8th of an inch https://www.dropbox.com/s/n0ux2080zm2175n/VIDEO0019.3gp?dl=0 as you can see the line is behind and i push the pipe further in the first start is just inside the burn chamber as i move it to the line thats level with the vortex tube pushing further in is just inside vortex tube
Last edited by gadily on Mon Oct 13, 2014 8:44 am; edited 1 time in total | |
|
| | |
gadily
Moderator
Posts : 1477
Join date : 2013-12-08
| | Subject: Re: start of my rs build Wed Apr 02, 2014 4:57 am | |
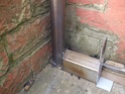
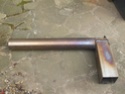
| ive got busy as been pondering how to sort out the burn box and weld it correctly but im also wanting an ash box below it as well in time ive cut my gas bottle down as i want less weight on the bottom design as well as easy access to clean out the rs, as i tend not to like the seal at the top of the rs stove, im also going to put on some handles for easy lift off of the top part  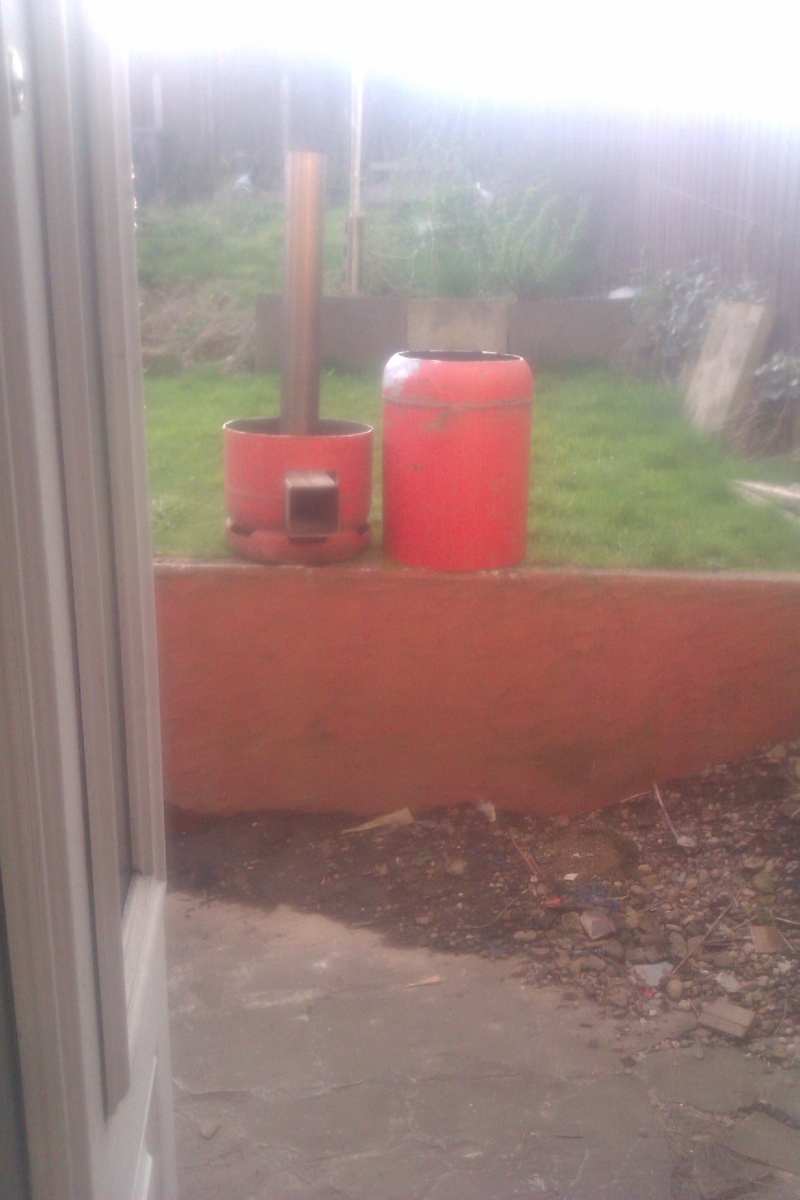 heres the pic of stainless steel burn box pre bent into a u shape and now to weld on the back and inside welding of the box im adding a little more steel to the outside of the stainless steel but the whole burn box is 2.5mm stainless steel 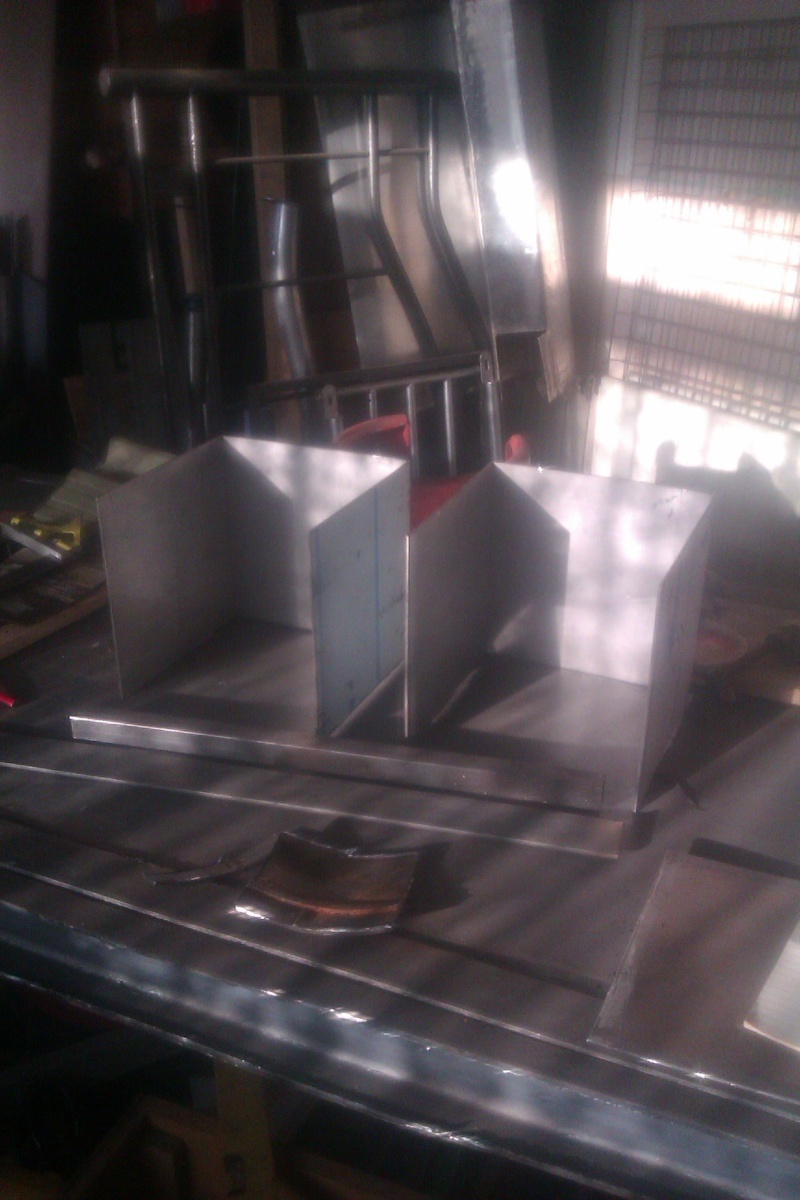 i need the vortex pipe but cant afford one just yet then i can weld up the lot of it in one go | |
|
| | |
gadily
Moderator
Posts : 1477
Join date : 2013-12-08
| | Subject: Re: start of my rs build Sat Apr 26, 2014 1:43 am | |
| just had delivery of the secondary air pipe 3mm wall x 1 1/2 as a little bigger im going to have to run a test burn before i weld everything up and call it complete as im doing this over the weekend will post up building pics and the complete build when finished the last thing i will be making is the door and hinges | |
|
| | |
gadily
Moderator
Posts : 1477
Join date : 2013-12-08
| | Subject: Re: start of my rs build Sun Apr 27, 2014 5:33 am | |
| heres the update ive used the 3mm ss with this build as im making ppottys jtube version but smaller 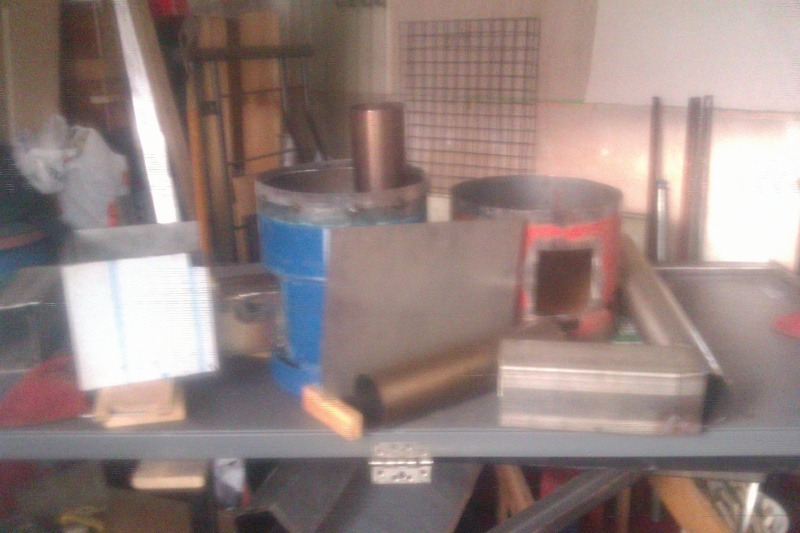 metal trim tacked on 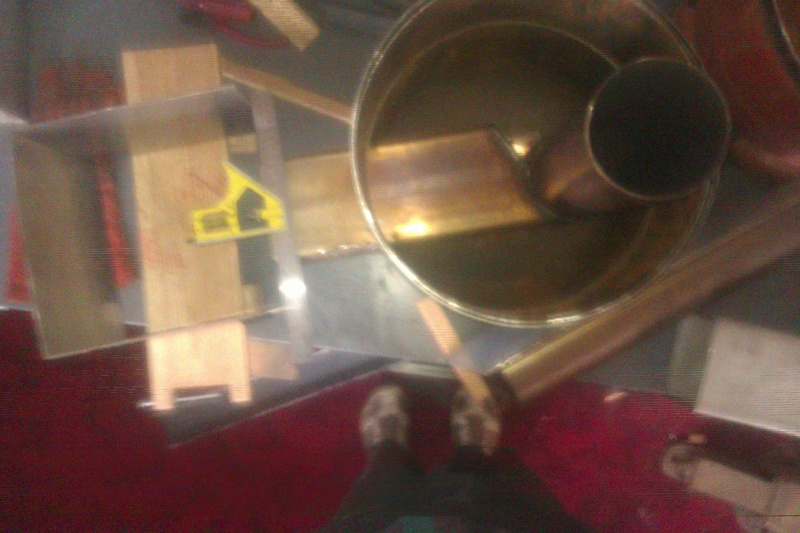 pipe seems to be offside leaning 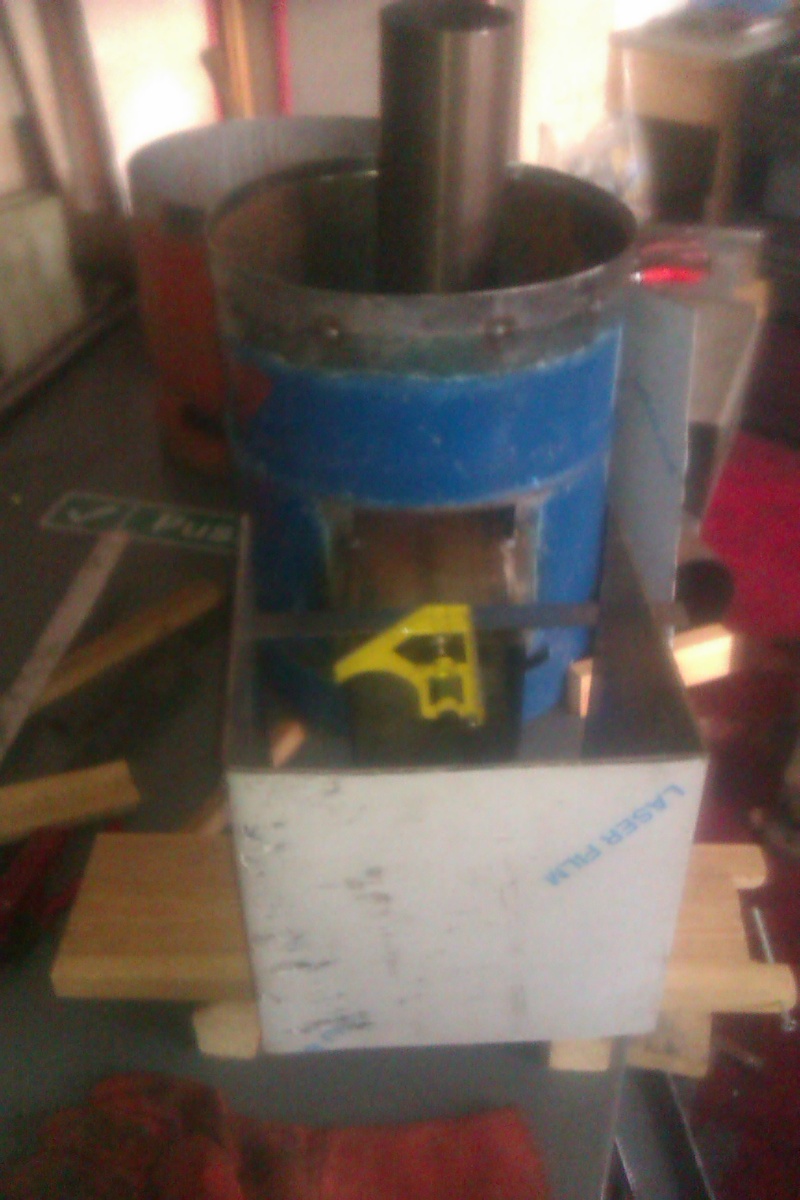 the internal view of secondary burn chamber with 3mm stainless steel pipe as seen  updated the burn box, burn chamber and the vortex tube are all stainless steel ( ss ) after this its swapped back to 3 mm steel for tubing and 5 mm steel for the top surface https://www.dropbox.com/s/907cvy10bi78v84/VIDEO0052.3gp?dl=0chimney still to go in and finish the welding off need some high temp silicone and also fire rope to seal up the last thing to make up is the sides top and lid of the burn box 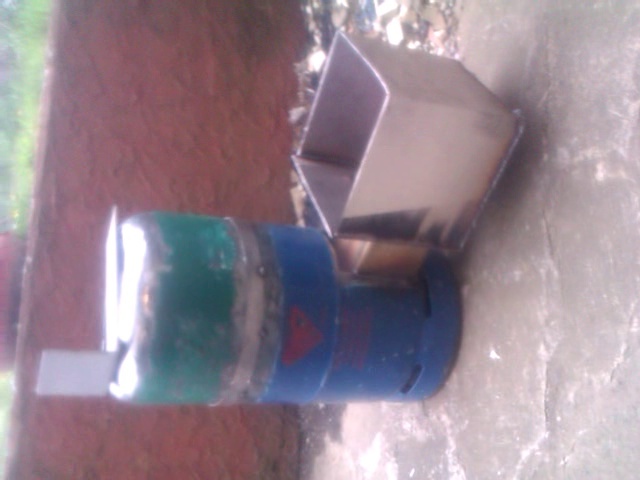
Last edited by gadily on Mon Oct 13, 2014 8:45 am; edited 1 time in total | |
|
| | |
gadily
Moderator
Posts : 1477
Join date : 2013-12-08
| | Subject: Re: start of my rs build Sun May 11, 2014 3:46 am | |
| an update curved the external flick plates the other build is a downdraft system that im building out of scrap to test  unwelded top of burnbox 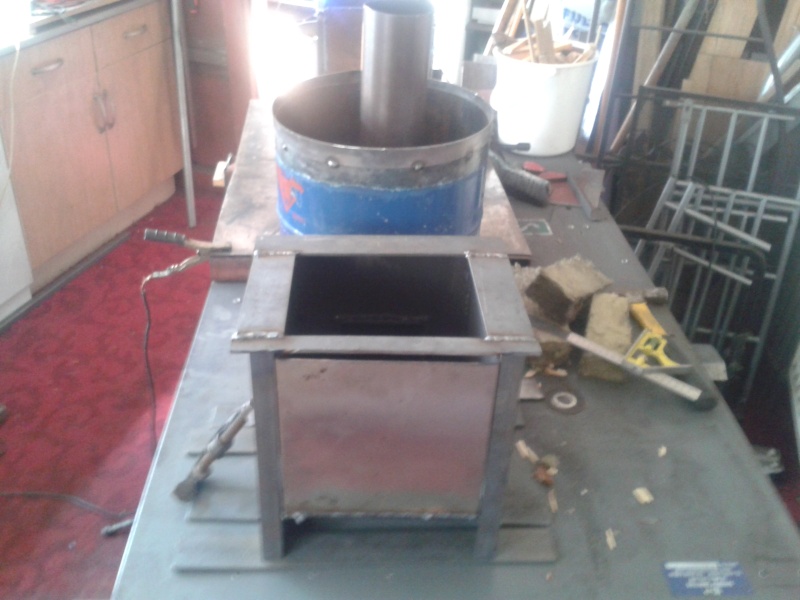 steel scrap welded to top 5mm steel bars welded inside and out 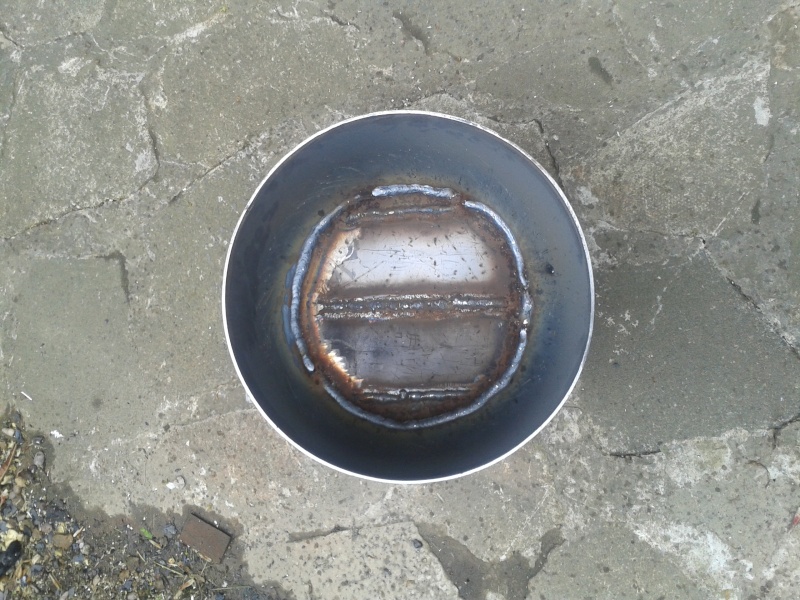 welded up just need to weld outer to stainless steel inner  next is build door but i have only an oven glass and im considering an ash box below and i so like the twist closers so cut out 2" hole in side steels | |
|
| | |
gadily
Moderator
Posts : 1477
Join date : 2013-12-08
| | Subject: Re: start of my rs build Tue Jun 10, 2014 5:58 am | |
| had a problem with this as it was too small in height so had to change it back to a standared 30"+ system https://woodstoves.forumotion.co.uk/t395-help-needed-with-small-build-rsit is now complete and tested these are the new pics and vids to go with it just quick tested this much better pull on the burn box now height of gas bottle from floor 34" high 24" vortex pipe repaired pipe some may say bodged but its my tester and im keeping it, vortex pipe is 2" short of the top cap but i can trim down on the bottle lowering the height  again tested after cutting the gap down to 10mm for glass air wash as wasnt happy with the tar effect with other tests sorry it goes upside down https://www.dropbox.com/s/av6jpjqew3wacfz/20140607_212922.mp4https://www.dropbox.com/s/gwoem3ajmpd3nhe/20140607_213902.mp4https://www.dropbox.com/s/8hkduthyuy5ryhp/20140607_214350.mp4decided to fill it up even thoe using normal safety glass https://www.dropbox.com/s/gh3ad52ic58gckk/20140607_215100.mp4ive had it that hot the top was melting the paint off and back of it was going black with heat the exhaust pipe was red hot to the touch you may notice the taring on the glass is much lesser now since the change theres one more test im going to do now and thats with some oak beam wood i can get from an old factory though i know they could have been coated from the old wool days on them ive ordered the last of the parts i need stove glass that was expensive found a cheaper source instead 1500c silicone i didnt think the 300c silicone was adequate 10mm door rope i will use the silicone to stick it to the surface of the door and make the door for the stove glass as can make it to fit the glass ive bought | |
|
| | |
gadily
Moderator
Posts : 1477
Join date : 2013-12-08
| | Subject: Re: start of my rs build Mon Oct 13, 2014 10:38 am | |
| | |
|
| | |
caotropheus
Subscribers
Posts : 333
Join date : 2013-10-07
| | Subject: Re: start of my rs build Mon Oct 13, 2014 2:00 pm | |
| The project is advancing nicely. When I use the thermometer I try to keep the laser as close as possible to 90 degrees in relation to the surface. I think it will give you more accurate readings. Also the distance from the surface may influence the readings, so I try to keep about 30 cm from the surface I want to measure the temperature.
I could notice as well that when you light the stove, you insert some fuel through the square pipe that goes from the fuel/combustion chamber to the riser tube. If you just light the fuel/combustion chamber and close the glass door/window the stove will not work? If all the passages to the riser tube are clear and not obstructed the stove will work better, right? | |
|
| | |
gadily
Moderator
Posts : 1477
Join date : 2013-12-08
| | Subject: Re: start of my rs build Sat Dec 27, 2014 3:18 am | |
| an update on its weight with my rocket stove minus the heat wrap i havent installed as of yet 46kgs  | |
|
| | |
Sponsored content
| | Subject: Re: start of my rs build | |
| |
|
| | |
| | start of my rs build | |
|